
St Matthew’s Mary Window, Cartooning
While we were completing the Matthew window for St Matthew’s Catholic Church, we were already moving on to their next commissioned window. The Joseph window’s companion piece, both smaller windows at the church’s apse, was to be a window of Mary and a few critical scenes in her story: the Annunciation, the Visitation with Elizabeth, and the Nativity. We were given a reference picture to go by and from there were left largely to our own devices in the design.
We started the design process with research, lots and lots of research. We looked up pictures of other stained glass of Mary, of paintings of her and her various scenes, as well as motifs and symbolism the Catholic church ascribes to her.

Bargue, Hogarth, and Mucha are our regular go-to artists.
Quality reference pictures, and lots of them, are key.
From there, we built our window template in Illustrator, allowing us an actual framework where we can accurately draw in our figures. The template will later be printed to scale without fear of distortion or having to recheck the shapes once printed.
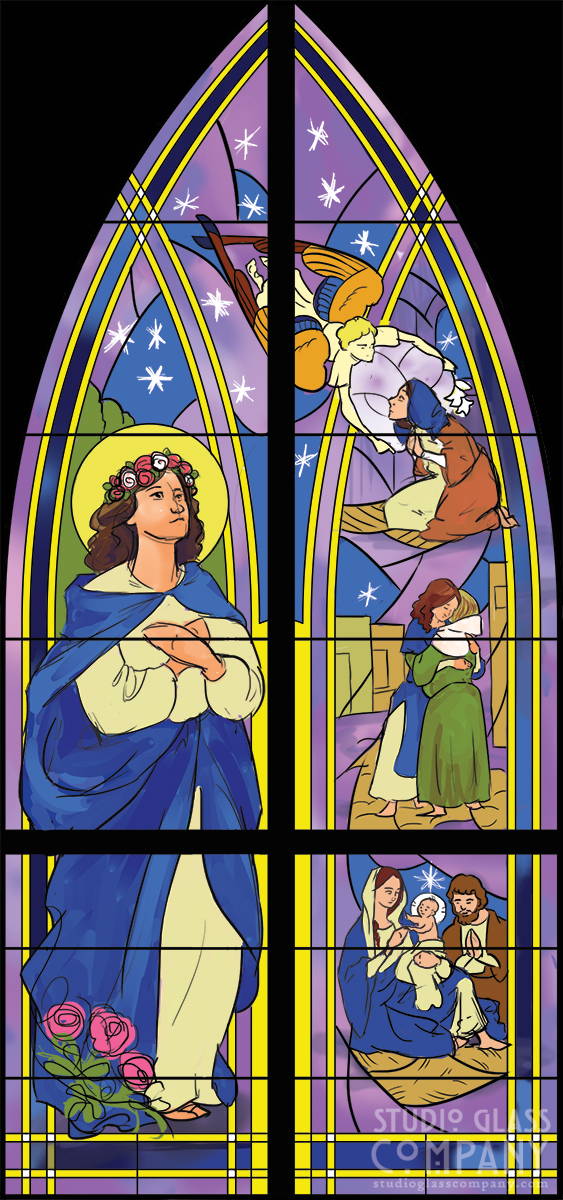
The initial composition.
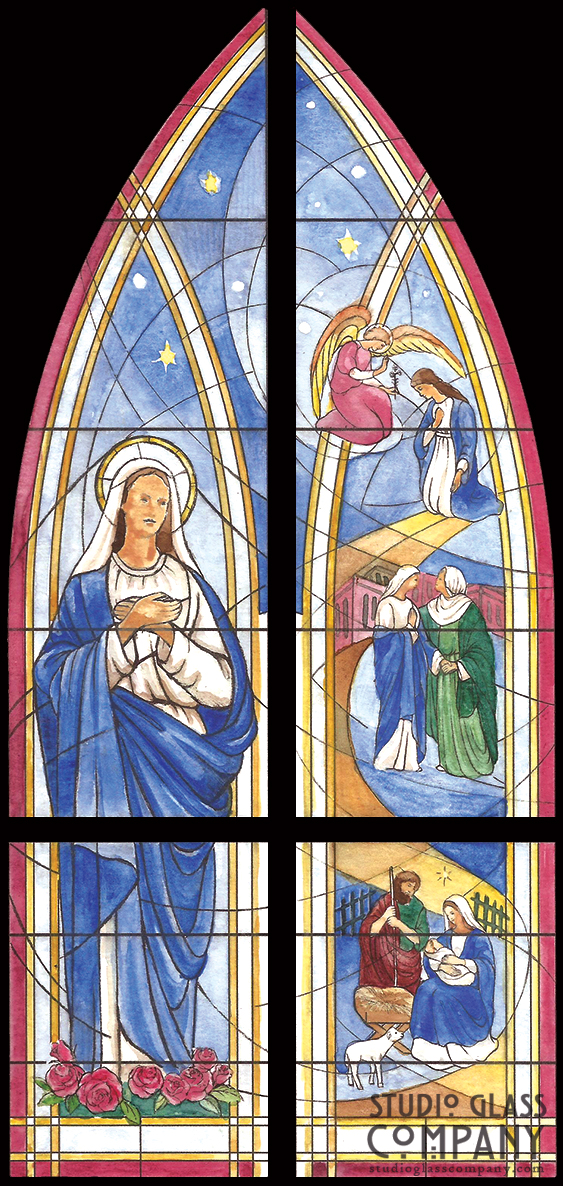
The final composition, in watercolor.
Katie started off the thumbnailing process by drawing a number of small compositions to find a nice flow to the window, establishing the ‘S’ shaped curves that will carry over to the final design. From there, she drew and painted a digital mock-up of the window for presentation to the church.
After the presentation, we continued to refine the artwork. Yuka took charge now, bringing the rough comp to a more completed stage with work that accurately reflects the style we’ll be using for our painted faces. She finished her design in watercolor, the traditional medium for design roughs in glasswork.
At this point, the design is a fraction of the size of the final piece.
We expand the image to scale to make the cartoon, the lifesize window pattern, and Yuka begins the process of shading the faces and figures. Accurate and beautiful rendering of what will be hand-painted and kiln-fired glass is, arguably, one of the most critical steps to ensure a window that reads well and is aesthetically pleasing.
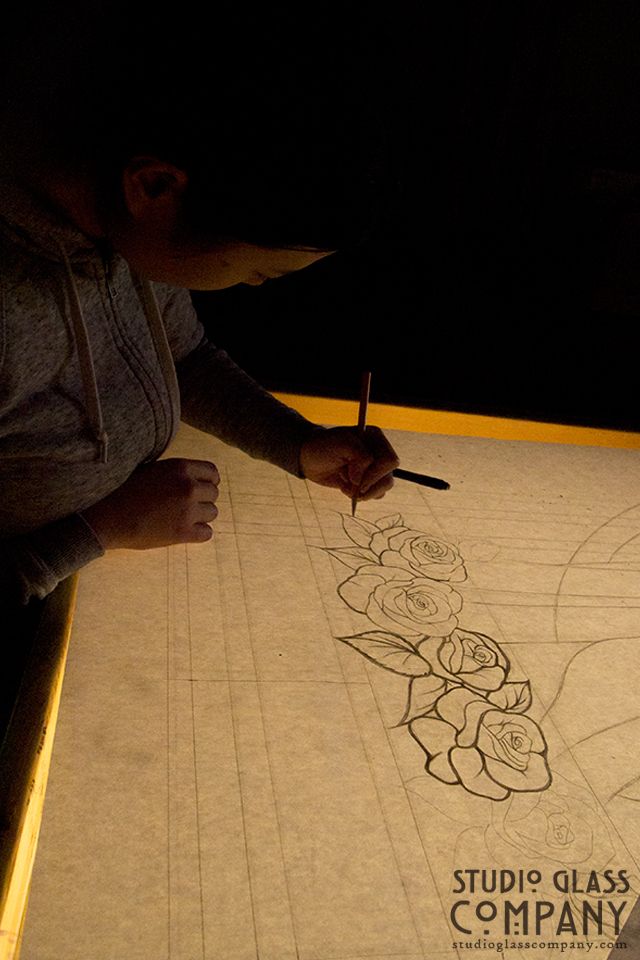
Rendering the values and leading by light table.
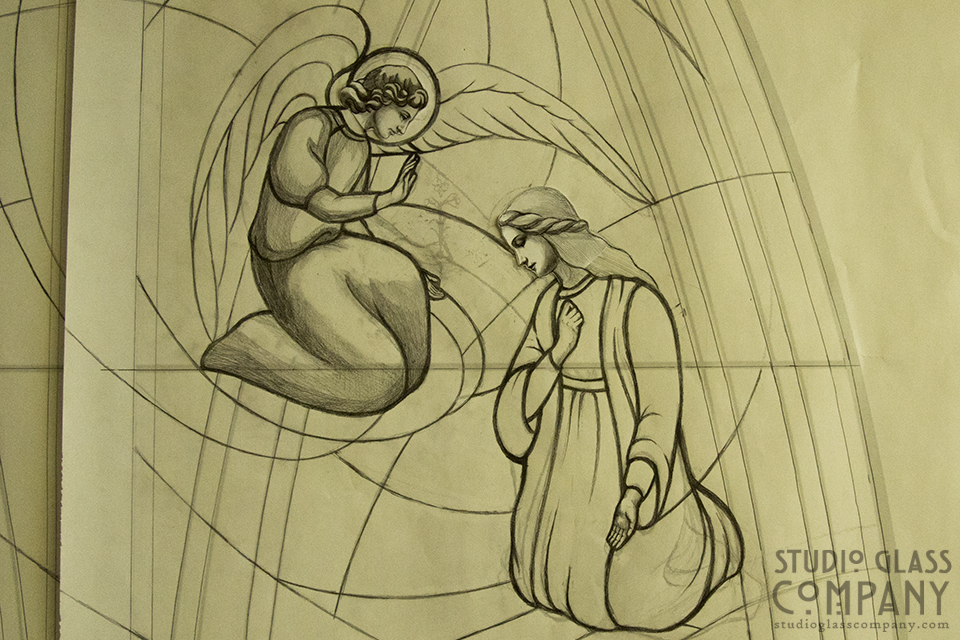
Part of the cartoon, featuring our standard cut-out heads.
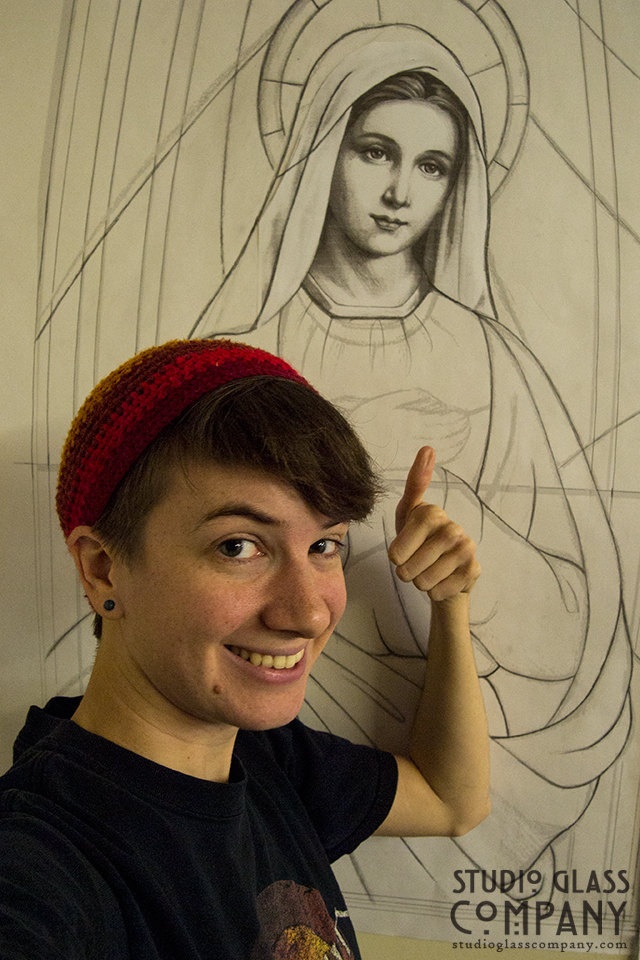
Katie, next to our lifesize cartoon.


